ICAO guide
How to take an ICAO photo at home with your phone
You don't need a studio for a passport photo. With your phone, a plain wall and daylight, you can take an ICAO compliant photo in about ten minutes, with or without a helper.
The short answer
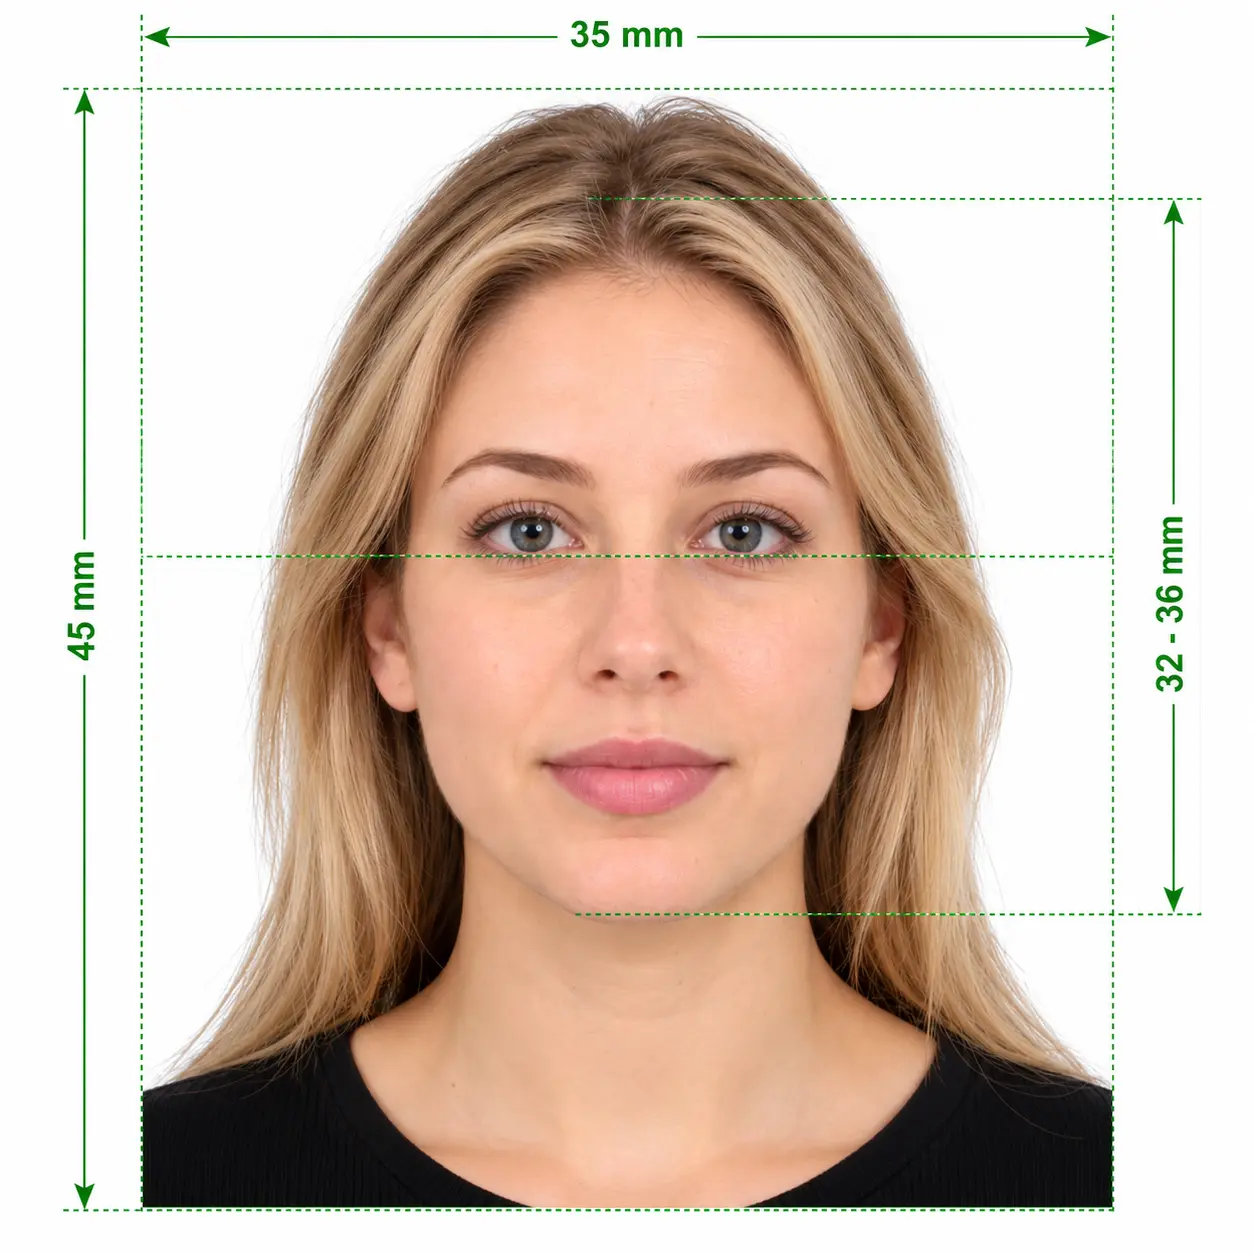
Stand 50 cm in front of a plain wall, facing a window. Have someone hold your phone at eye level 1.2–1.5 m away and take several photos with the rear camera in the standard photo mode. Then crop the best one to your country's size.
What you need
- A phone with a rear camera
- A plain white or light grey wall, or a white sheet
- A window with daylight
- A helper, or a tripod or stack of books
- A plain, darker top
Your setup in numbers
- You to the wall
- About 50 cm
- Camera to your face
- 1.2–1.5 m
- Camera height
- Level with your eyes
- Light
- Window in front of you
- Lens
- 1× main rear camera
- Camera mode
- Standard photo mode
Set up your phone camera
Phone cameras edit photos automatically. Passport offices treat that as editing, so turn these features off first.
iPhone
- Use Photo mode, not Portrait mode.
- Stay on the 1× lens and don't pinch to zoom.
- Turn on Grid in Settings, Camera to line up your eyes.
- Choose Settings, Camera, Formats, Most Compatible if you need a JPEG.
Android
- Use the standard Photo mode, not Portrait or Live focus.
- Turn off beauty, face retouch or skin smoothing. The name varies by brand.
- Stay on the 1× lens and don't use digital zoom.
- Turn on grid lines in the camera settings.
Step by step with a helper
This is the easiest method and gives the most natural result. Your helper only needs to hold the phone steady and press the shutter.
- 1
Get ready
Wear a plain, darker top, tie back loose hair and take off your glasses, hat and any large jewellery.
- 2
Stand in position
Stand about 50 cm in front of the wall, facing the window. Standing away from the wall stops your shadow from landing on it.
- 3
Frame the shot
Your helper holds the phone at your eye level, 1.2–1.5 m away, and frames your head and the top of your shoulders. Leave plenty of space around you, because you crop later.
- 4
Pose
Square your shoulders, keep your head level, close your mouth and look straight into the lens. Relax your face rather than smiling.
- 5
Take several shots
Take five or six photos without zooming. Then zoom in on each one and keep the sharpest photo with no shadows on your face.
How to take it on your own
No one to help? Use the same setup, but let a tripod and the timer do the work. Never hold the phone at arm's length.
- 1
Prop the phone at eye level
Use a tripod, or stack books on a table until the rear camera is level with your eyes. Lean the phone against something stable so it doesn't tilt.
- 2
Take a test shot
Set a 10-second timer, step into place and take a test photo. Check that your head is centred and that the top of your shoulders is in the frame, then adjust the phone.
- 3
Use the timer or burst
Set the 10-second timer again. Many phones take a short burst with the timer, which gives you several photos to choose from.
- 4
Review on the big screen
Look at each photo at full size and keep the sharpest one with even light and level eyes.
Taking a baby's or child's photo at home
Lay a white sheet on a bed near a window, place your baby on it face up and take the photo from directly above. This avoids the hands and shadows that make babies' photos fail.
For a toddler, cover a car seat or chair with a white sheet. Keep toys, dummies and your hands out of the frame, and take plenty of shots to catch a moment with the eyes open.
6 home photo mistakes to avoid
Selfie at arm's length
A close lens makes your nose look bigger. Stand back and use the rear camera.
Overhead ceiling light
It casts shadows under your eyes and nose. Turn it off and use daylight.
Standing against the wall
Your shadow lands right behind your head. Step 50 cm forward.
White top on a white wall
Your shoulders disappear into the background. Wear a darker top.
Portrait mode or filters
Background blur and smoothing count as editing. Use the standard photo mode.
Direct sunlight
It creates harsh shadows and makes you squint. Choose indirect daylight.
Home passport photo FAQ
- Is a passport photo taken at home accepted?
- Yes. Passport offices don't ask who took the photo, only whether it meets the rules. A home photo passes when it has the right size, a plain background, even lighting and a neutral expression.
- Can I use my phone's selfie camera?
- Avoid it if you can. The front camera has a wide lens, and holding it at arm's length distorts your face. If you must use it, prop the phone 1.2–1.5 m away and use the timer.
- What is the best time of day for a home passport photo?
- Take it during the day, when soft light comes through a window. An overcast day is ideal. Avoid direct sunlight and evening light from ceiling lamps.
- Do I need a white wall?
- A plain, light wall is best, but you can hang a white sheet or use any plain surface. Our tool replaces the background with plain white, as long as the light on your face is even.
- How far should the camera be from my face?
- Keep the camera 1.2–1.5 m from your face, at eye level. This distance keeps your features natural and leaves room to crop the photo to the correct size.
- Can I take my baby's passport photo at home?
- Yes, and it's often easier than at a studio. Lay your baby on a white sheet, take the photo from directly above in daylight and keep your hands out of the frame.
- Can I print my passport photo at home?
- You can, but a photo lab gives better results. Ordinary printer paper is too thin and can smudge, so print the 4 × 6 in sheet at a pharmacy or photo lab.
- How do I turn my photo into the right passport size?
- Crop it to your country's size so your head is the correct height, or upload it to our tool. We crop, whiten the background and check the photo, and you pay $7.99 only when you download.
Turn your phone photo into a passport photo
We crop it to your country's size, whiten the background and run ICAO checks. Pay $7.99 only when you download.